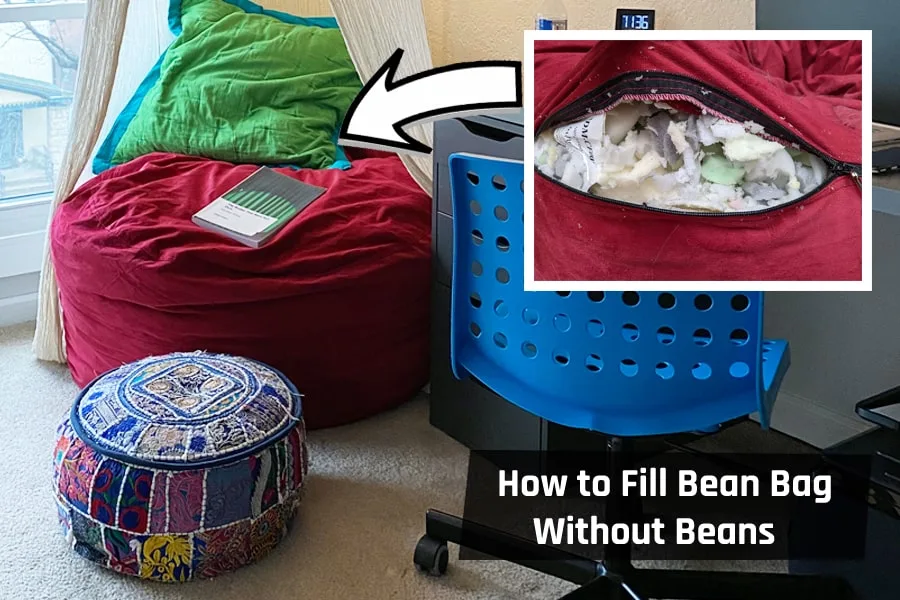
You can use a few bean bag filler alternatives like shredded foam, microfoam, polyester fiberfill, microbeads, etc. instead of beans.
To fill a bean bag without beans, you will need to empty your bean bag, removing the inner liner and outer cover. Then calculate the required filling based on your bean bag’s size (100 to 600 liters). Next, prepare chosen filler (shredded foam, memory foam, polyester fiberfill, or microbeads) according to guidelines.
After that, fill the bean bag evenly using a funnel or improvised one, avoiding over-firmness. Test comfort level by sitting on it, adjusting filling as needed. Finally, Close the liner securely, place it inside the outer cover, and zip it up. Your comfy bean bag is ready!

Fill Bean Bag without Beans – Step by Step
Now that you know about alternatives to traditional bean filling, let’s proceed to discover how to fill your bean bags without beans.
Here’s a step-by-step guide to help you fill alternative materials into your bean bag in place of beans.
Step 1: Empty Your Bean Bag
Begin by emptying your bean bag. Remove any beans inside and then take off both the inner liner and outer cover. Once the bean bag is empty, you’re ready to move on to the next step.
Step 2: Calculate the Required Filling
Determine the amount of material needed to fill your bean bag based on its size. Generally, you’ll require anywhere from 300 grams per cubic feet of filler, depending on the size of your bean bag.
Step 3: Prepare the Chosen Filler
Follow the provided guidelines to prepare your chosen filler:
- For shredded foam, fluff it up for more volume.
- If using memory foam, cut it into small pieces for easier handling.
- For polyester fiberfill, break it into little pieces for uniform spreading.
- If using microbeads, pour them into a large basin or container for easy handling.
Step 4: Fill Your Bean Bag
Once your alternative material is ready, start filling your bean bag. Locate the zippers and unlock the bean bag. Use a funnel for pouring the filling, or create one by rolling up paper or cardboard. Begin filling the bottom of the liner and spread it evenly.
Ensure even filling for optimal comfort. Add more material gradually until the bean bag is full but not too firm. Optionally, use a vacuum cleaner to remove air and enhance comfort. Leave room for the material to expand when sat on.
Step 5: Test the Bean Bag
After filling, test the comfort level by sitting on the bean bag. Adjust the filling by removing some if it’s extra comfy or adding more if it’s not fluffy enough, according to your preference.
Step 6: Close the Bean Bag Liner
Securely close the liner after filling. Ensure a tight seal to prevent filler from leaking. Zip up the liner and place it inside the outer cover. Once the liner is closed, zip up the outer cover. Your bean bag is now ready for use!
Pro Tip
To prevent filler leakage when closing the bean bag liner, ensure a tight and secure seal. Double-check the zipper closure, making sure it’s completely fastened. Take your time during this step to avoid any accidental openings that could lead to filler spillage.
How do I test the comfort level of my bean bag after filling with alternative material?
After filling your bean bag with alternative material, it’s crucial to assess its comfort level before regular use.
Sitting Test
Begin by sitting on the bean bag and gauging how it feels. Take note of initial comfort and support.
Weight Distribution
Shift your weight on different areas of the bean bag. Ensure even support and comfort across the surface.
Adjusting Positions
Lean back, change sitting positions, and test comfort in various postures. This helps identify any discomfort or unevenness in the filling.
Firmness Check
Evaluate if the bean bag is too firm or lacks fluffiness. If it’s too firm, consider removing some filler; if not fluffy enough, add more material.
Regular Assessment
Periodically reevaluate the comfort level over time. Adjust the filling as needed to maintain an optimal and personalized seating experience.
This hands-on approach ensures that your bean bag provides lasting comfort tailored to your preferences.
FAQ
Can I cut memory foam into smaller pieces to fill my bean bag?
Yes, you can cut memory foam into smaller pieces to fill your bean bag. This allows for easier handling and ensures a more uniform distribution of the filler. Adjust the size of the memory foam pieces based on your preference and the size of your bean bag for optimal comfort.
Can I adjust the filling of my bean bag if it’s not comfortable enough?
Yes, you can adjust the filling of your bean bag if it’s not comfortable enough. Simply add more filler for extra fluffiness or remove some if it feels too firm. Tailoring the filling to your comfort preference ensures an enjoyable and personalized seating experience with your bean bag.
Final Words
Refilling a bean bag without beans is an uncomplicated process, offering both time and cost savings.
Utilizing alternative materials such as shredded foam, memory foam, polyester fiberfill, or microbeads ensures a comparable level of comfort and fluffiness to traditional bean filling.
Simply follow the steps outlined in this how to fill bean bag without beans guide to refill your bean bag with any filler of your choice, excluding beans. Indulge in the comfort and relaxation of your newly filled bean bag!
